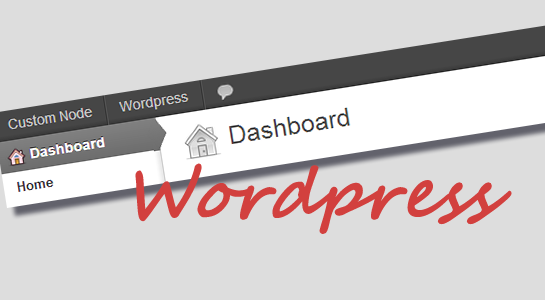
To add a node to a custom position in WordPress Toolbar is very easy and simple. In this article shows how to place menu item to top navigation in WordPress.
To add a new item into the WordPress Toolbar, you need to use admin_bar_menu action hook and to remove wp_before_admin_bar_render hook. you can use both hooks to add/remove items.
Let’s understand by code:
So, First, let’s see how to add custom node into admin bar.Below is add_action will add new node into top navigation bar in WordPress.
Read about: Disable Post Revisions in WordPress and File/Image Upload in WordPress
1 2 3 4 5 6 7 8 9 10 11 12 13 14 15 16 | add_action( 'admin_bar_menu', 'custom_admin_bar_links', 25 ); if ( !is_user_logged_in() ) return; $wp_admin_bar->add_node( array( 'id' => '’<custom-node>', 'title' => 'Custom Node Title', 'href' => get_permalink(<custom-node-id>) ) ); } |
Third parameter in add_action is priority value which defined position of menu item and function with the lowest priority number is executed first.
Now, Let’s see how to remove existing menu items from top navigation bar in WordPress.remove_node will remove items from top navigation bar.
1 2 3 4 5 6 7 8 9 | add_action( 'wp_before_admin_bar_render', 'remove_admin_bar_links' ); function remove_admin_bar_links() { global $wp_admin_bar; $wp_admin_bar->remove_node('wp-logo');// to remove wordpress logo $wp_admin_bar->remove_node('new-content');// To remove New post bar } |
That’ it.We’re Done! I’m hoping that you’ve found this article helpful.Before that I have written article about to show toolbar in WordPress.
As always, thanks for reading. Don’t Forget to Follow us on Twitter or Subscribe us to Get the Latest Updates.


Comments (2)